

I’ve had several folks ask the process of hand tooling. Here’s a look at what goes into one of my custom hand tooled leather motorcycle seats. It’s a lengthy process and the reason why most “affordable” commercially made seats are either plain or embossed using a machine.
Like any project you must first take measurements and create a pattern to cut the leather from. This is followed by careful hand cutting and punching of any necessary mounting holes. In this case, I am making a seat with both a top and bottom so each piece requires a slightly different process.
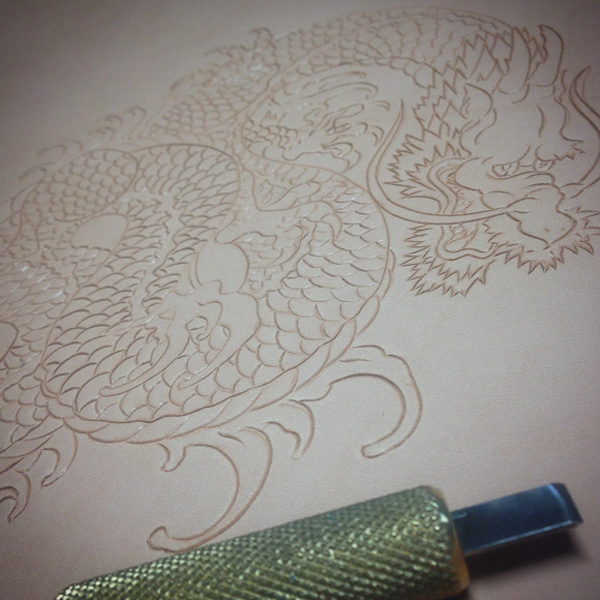
For the top, I wet case the leather overnight. This is the foundation for deep cuts and quality tooling. After the leather has absorbed the water and returned to it’s original color, I transfer my design using a stylus. I typically draw out a design on paper first and then transfer it to the leather which allows for a clean image.
Once the image is transferred, I cut the outline using a swivel knife. This project took approximately 6 hours to cut the dragon into the seat. When the outline is complete the tooling begins. This is where you start to get the 3D effect that brings your artwork to life. I use a variety of leather tools for this work including various mauls, bevelers, lifters, shaders, bargrounders, backgrounders and modeling tools. All in all, the tooling took approx. 5 hours (dragon’s have a crazy amount of scales).
Now is the time to mold both the top and bottom parts of the seat to attain the final shape. This is done by soaking the leather and molding the leather to the seat pan and foam using your hands and a bone folder. Once it’s molded you clamp it down and let it dry overnight. After it dries completely, massage a good coat of neatsfoot oil into the piece to restore the oils lost in the tooling process to avoid future cracking.
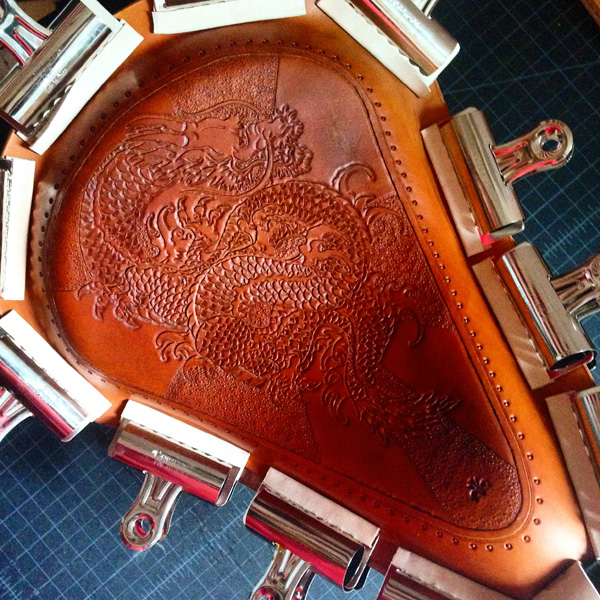
The two pieces are now ready to be dyed. I used a honey colored oil based dye for this seat and applied it using a small airbrush. I’ve found that you get a more consistent result, better coverage and a greater range of tones with this method. The airbrush is a tool that takes a long time to master and I learn something new each time I use it. The black burst was applied with a brush. Once the dye is applied I let it dry for 24 hours.
In order to keep the leather from slipping or bubbling I apply a good coat of adhesive to the underside of the leather and clamp it down for several hours. Since the bottom of this seat required copper rivets I set them after gluing the seat bottom but prior to gluing down the foam and top leather.
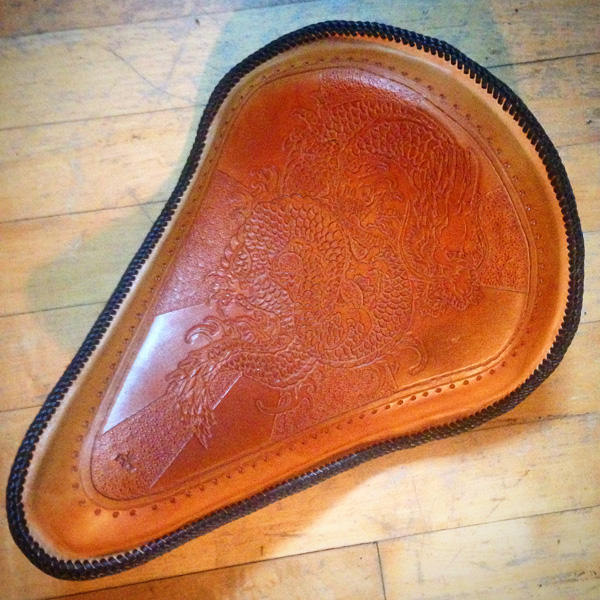
Now is the time to address the seats edge and ready it for lacing. I prefer a smooth, beveled, black edge on seats prior to lacing to help reduce abrasion. The edge is trimmed, sanded, burnished, dyed black, sealed and allowed to dry.
For this project, the entire edge is laced. I only use Kangaroo lace which is 10 X stronger than it’s bovine counterpart. This step adds strength and durability along with a classic look but is comes at a price. Lacing for this seat added an additional 6 hours.
The final steps are applying an acrylic based finish to seal the leather and keep the dye from bleeding or rubbing off on clothing. I have found that best results are achieved by applying two thin coats with an airbrush vs. a heavy coat with a sponge, cloth or wool. I allow this to dry for several hours and then apply antique paste. To insure that the paste is dry I allow it to sit overnight and then apply two more coats of finish.
Thanks for reading. I hope that you now have a better understanding of hand tooling and seat building.
Leave a Reply
You must be logged in to post a comment.